Sgraffito, a fancy Italian term for the technique where you carve through slip revealing the clay body underneath. This is one of my favorite ways of adding texture and design to the clay surface and I know once you try it you will love it too.
All you need to get started is: a leather hard pot, slip or under glaze, a brush to apply it and a tool to carve the pot with. Simple right. Well it can be and I’m going to walk you through how to do it.
A leather hard pot, it can be any temperature or color clay you like to work with, hand built, thrown or slip cast. It doesn’t matter how it is made all you need is a pot (or tile or sculpture etc.) to carve on.
I prefer using a smooth clay because clay with grit or grog in tends to get in the way of the design I am carving. I also like to use a clay that contrasts with the slip or underglaze I am using. If I am working with a light clay body I will use a dark slip/underglaze and if I am working with a dark clay body I will use a light slip/ underglaze. This contrast will allow whatever design you use to “pop” and really shows off all your gorgeous carving.
Slip or Underglaze? This is entirely up to you. I use both in my studio. For this post I am going to just be showing pieces that I used slip on but underglaze would work just as well. If you use underglaze any brand will do but I really like Speedball Underglaze. It is a very affordable high quality underglaze and gives nice even coverage with 2-3 coats.
The slip I used is a dark brown cone 05-6 slip colored with red iron oxide(RIO) that I make in my studio it is: 50% Gerstley Borate and 50% Red Iron Oxide. I mix it up to the consistency of yogurt in a container, be sure to sieve it (70 mesh is good) so you don’t have any lumps.
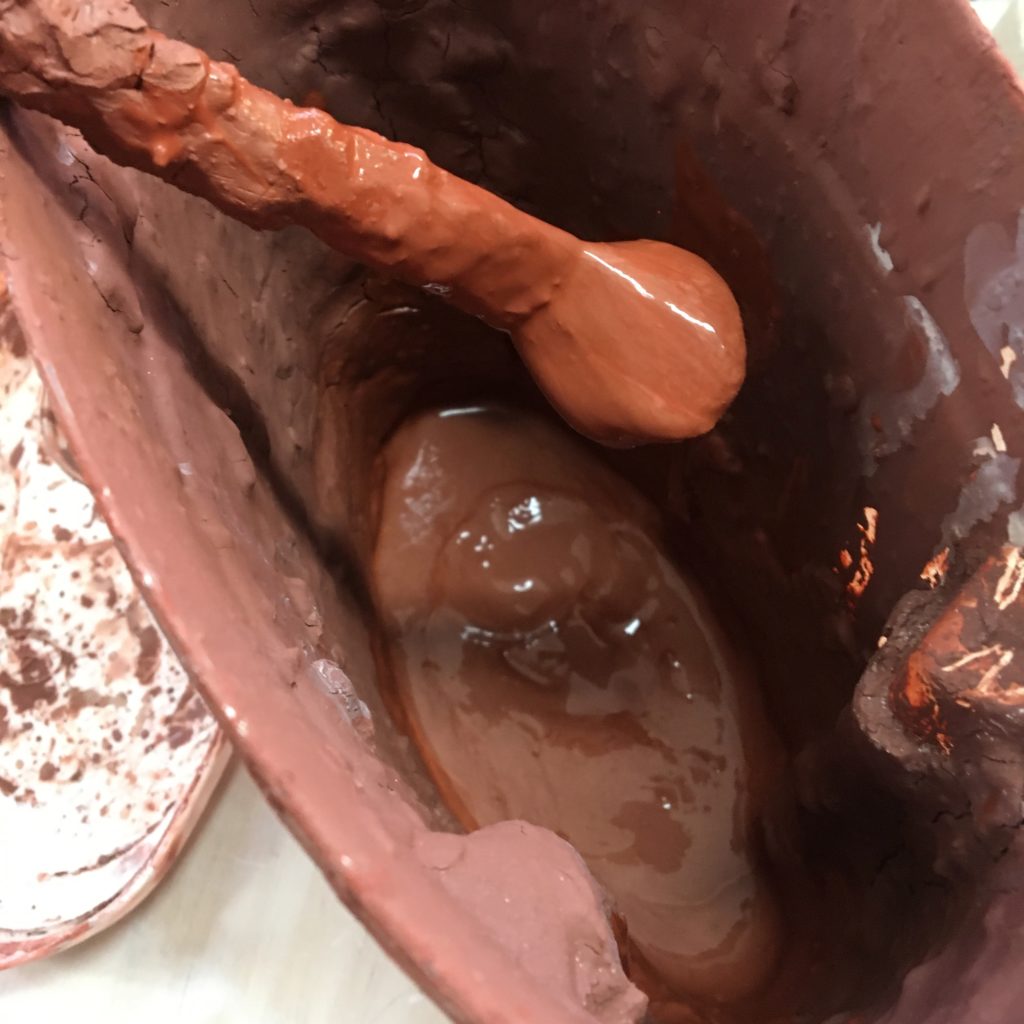
Once you have your slip made or your underglaze on hand you need to apply it to the surface. I apply my slip/underglaze with a brush. Any brush will do. I have been using the same one for 12 years. I found mine in the parking lot of UNCW when I was an undergrad student and it has been my favorite slip brush since. Just so you don’t think I keep things that are not mine, I did try to find its previous owner and posted a notice on the art department bulletin board but no one claimed it so I gave it a good home. Don’t have a magic parking lot brush? Well then you are in luck because any inexpensive round craft paint brush, sumi or hake brush will work great for this. To apply the slip I put my pot or ceramic piece on my pottery wheel or banding wheel and just let it spin as I lay the slip/underglaze covered brush on the ceramic surface. For slip I apply once coat, for underglaze I apply 2-3 coats depending on how opaque I want the finish. I then let the pot set up overnight covered lightly with plastic and check on it the next day to see if it has set up to a dry leather hard. You want it to be to a chocolate bar level of dryness, which is fairly dry but definitely not bone dry.
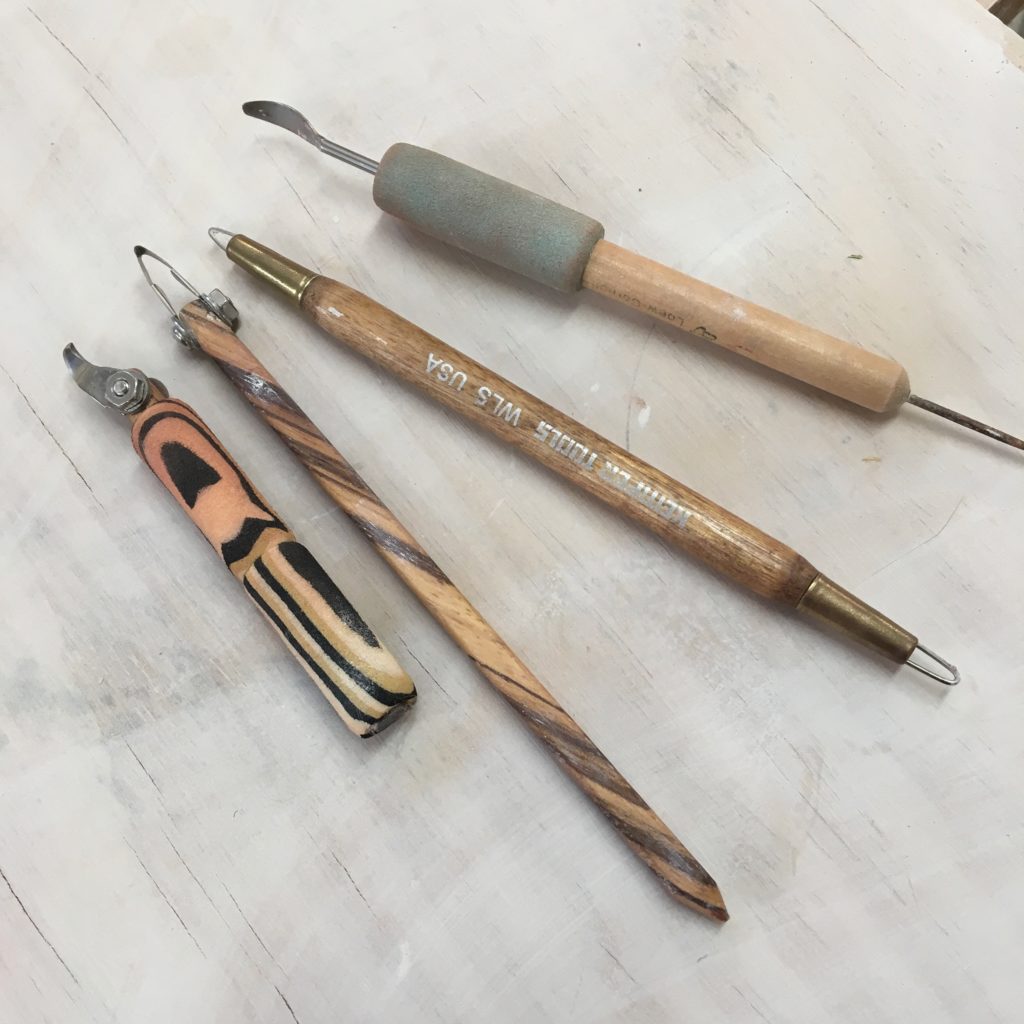
Now that you have your slip/underglaze on your pot you need to carve it. There are many different carving tools. Here are some I use in my studio. From left to right they are P8 “V” tip palm carver and P1 V-tip Pencil Carver (essentially the same tool just one has a short foam covered handle and the other has a long handle) These are made by Ci Products and are called their Zebra carving tools. They are incredibly well made, super sharp, a bit pricey but so worth the cost, The Kemper wire loop sgraffito tool is an economical tool and had two different sized loops in one tool. I use this for carving away large areas of clay. Last is an inexpensive carving tool that came in a clay tool set that I put a foam grip on. I really love this tool for its simplicity and if you are starting out this is my recommendation. Plus when you buy the set you get a few other tools that you can use in your studio practice and who doesn’t need more tools! You will want to try a few different tools out to find the one(s) you like. There are many more tools out there, these are just what I like and use on a daily basis.
Carving Time!
Okay, you pot is covered with slip and at the correct dryness you have a carving tool and you are ready to roll. What do you do now??? Well, If this is your first attempt at sgraffito I suggest you start with just carving a few lines, an abstract pattern or shapes. The key is too keep it simple until you are familiar with the tools and know what designs you want to carve.
Since I really enjoy drawing and want to put everything I draw onto my ceramic work I spend a lot of time developing and practicing the patterns and designs I use. I will draw a design over and over in my sketch book until I have the design down. This does a few things, it lets me refine the design to get one that will work well on the clay surface and by practicing the design I develop muscle memory which teaches my hand how it needs to move in order to make the design. Some of my design are quite intricate and can take eight or more hours to carve.
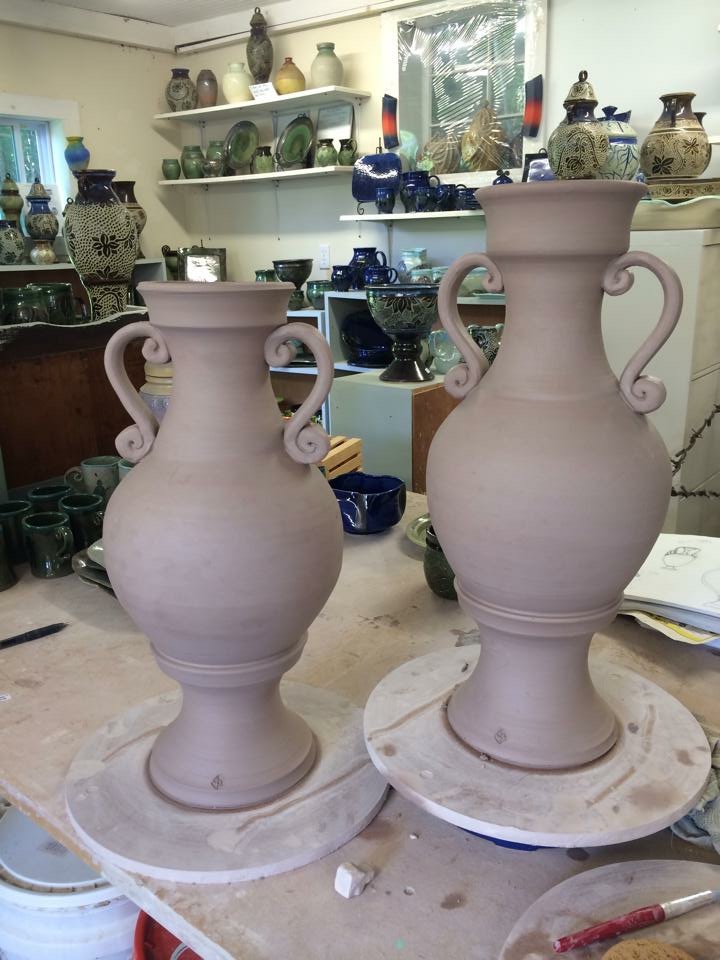
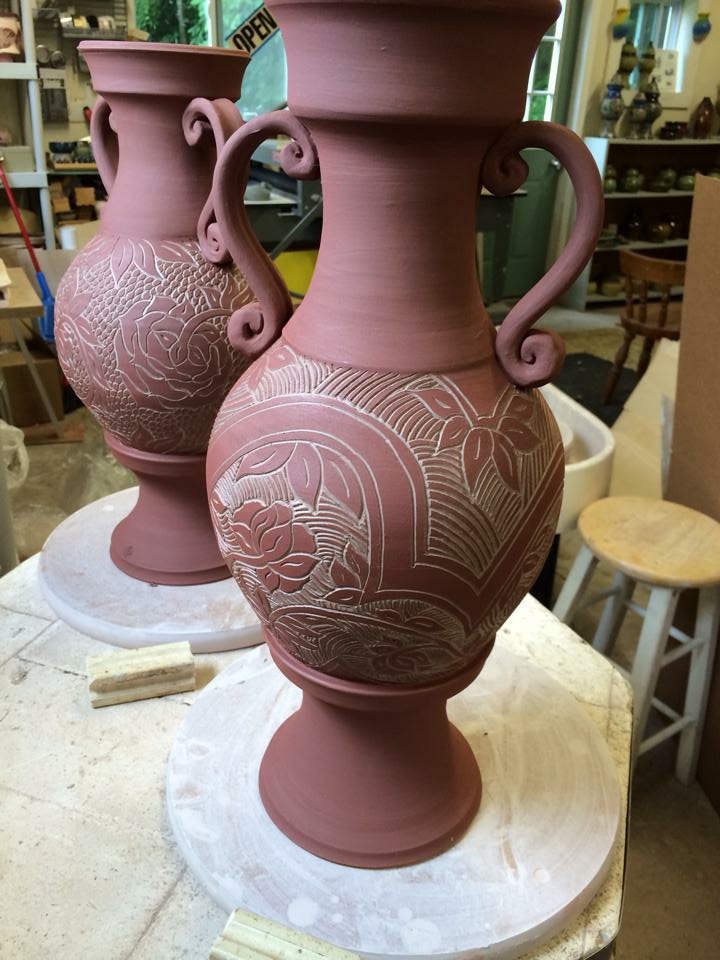
Notice the contrast here on this vases between the light clay body and the dark slip. It really pops!
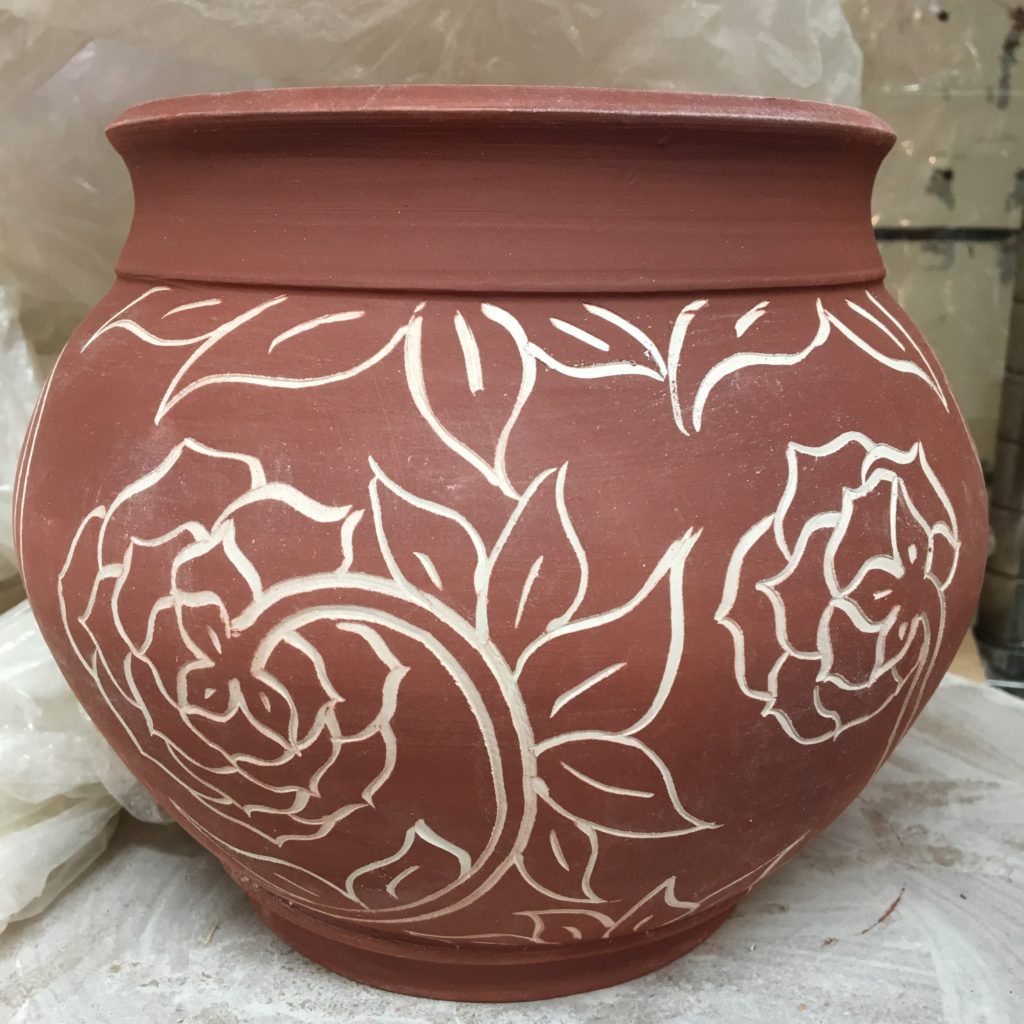
When carving you may find it handy to use a stiff bristle brush to brush away and crumbs made during the carving. After you have finished your design just let you pieces dry like usual. I alwasy cover my pieces to let them dry slowly and evenly. These two vases here took 2 days to carve and about 3 weeks to dry all the way. I left the neck, handles and bases uncarved so that the peices wouldn’t be too busy and so that the eye goes directly to the carved areas.
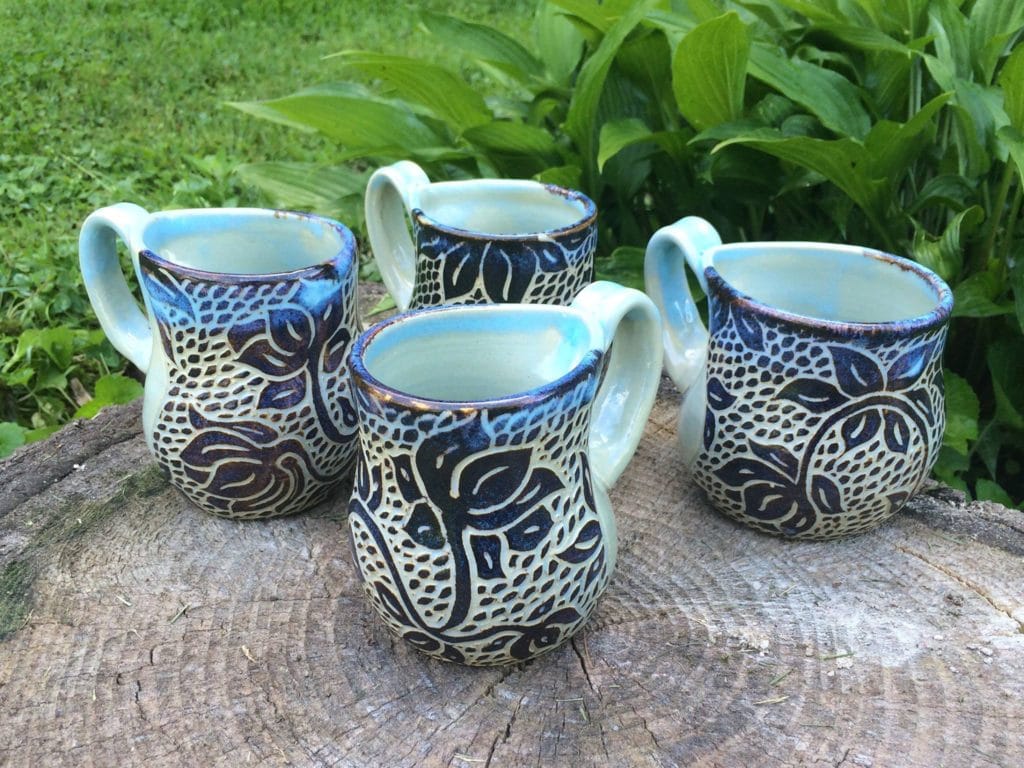
Once they are dry and bisque fired they are ready for glazing. A translucent or clear glaze works the best to show off sgraffito designs. Celadon glazes are particularly nice for this. I suggest before you glaze a piece you have spent hours working on that you make a few carved test tiles and test out your glazes. There is nothing worse than putting your time, effort and love into a piece just to have it ruined by a glaze that just wasn’t right for it.
Sgraffito is a fantastic way to add your own designs and personality to your work. If you think this is for you and you want more info check out my class here on ClayShare.
Happy Carving!
